Kenmore Self Cleaning Oven Manual: A Comprehensive Guide
This detailed manual provides essential guidance for effectively utilizing the self-cleaning features of your Kenmore oven, ensuring optimal performance and longevity.
Understanding your oven’s capabilities, from locating model details to troubleshooting common issues, is paramount for a seamless cooking experience.
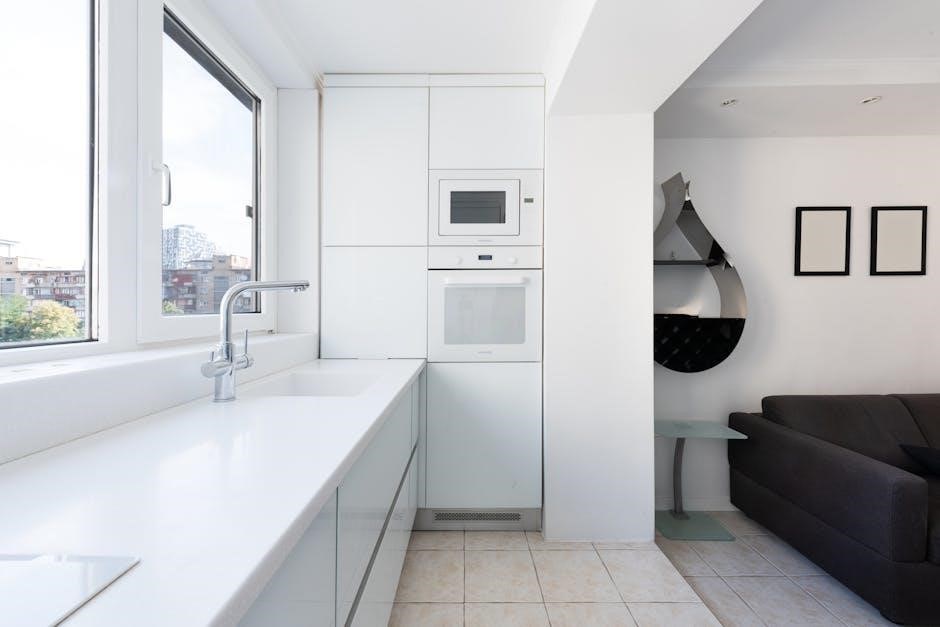
Understanding Your Kenmore Oven
Kenmore ovens are renowned for their reliability and innovative features, but understanding the specifics of your model is crucial for maximizing its potential. These ovens, often manufactured by companies like Whirlpool, boast a range of functionalities, including the convenient self-cleaning cycle.
Before diving into the self-cleaning process, familiarize yourself with the oven’s control panel and available settings. Knowing where key components are located – such as the heating elements and temperature sensors – will aid in troubleshooting and maintenance.
Kenmore’s commitment to quality means each oven is designed for durability, but regular care and adherence to the manual’s guidelines are essential. Properly utilizing the self-cleaning feature, and understanding its limitations, will ensure years of dependable service from your appliance.
Locating the Model and Serial Number
Identifying your Kenmore oven’s model and serial number is the first step towards accessing specific manuals, troubleshooting guides, and replacement parts. This information is vital when contacting Kenmore customer service or seeking assistance with repairs.
Typically, you’ll find this crucial data located inside the oven door frame, often on a sticker or metal plate. Alternatively, check the back of the appliance; the model and serial numbers may be affixed to a panel there.
The model number is usually a combination of numbers and letters, while the serial number is a longer string of digits. Record both numbers accurately, as even a slight error can hinder your ability to find the correct resources. Having this information readily available streamlines any service or support requests.
Decoding Kenmore Model Numbers
Kenmore model numbers are structured to reveal important details about your oven, including the manufacturer and specific model features. Understanding this code unlocks access to compatible parts and tailored support.
Generally, Kenmore model numbers begin with a three-digit prefix, followed by a decimal point and a series of numbers. This prefix indicates the original manufacturer of the appliance – for example, Whirlpool, GE, or LG. The subsequent numbers define the specific model and its variations;

While the complete decoding can be complex, knowing the prefix helps identify the source of your oven’s components. This is particularly useful when ordering replacement parts or consulting manufacturer-specific documentation. Refer to Kenmore’s resources or contact customer service for a detailed breakdown of your specific model number.
Identifying the Manufacturing Year
Determining the manufacturing year of your Kenmore oven can be crucial for finding compatible parts, accessing relevant documentation, and understanding its age-related condition. The manufacturing date isn’t always explicitly stated, but can be deciphered from the model and serial number.
Locate the model and serial number plate, typically found inside the oven door frame or on the back panel of the appliance. While the serial number’s full decoding requires specific Kenmore resources, the first three digits of the model number often indicate the manufacturer. Knowing the manufacturer allows you to consult their dating systems.
Kenmore’s dating system can be complex, so utilizing online resources or contacting Kenmore customer service is often the most reliable method for pinpointing the exact year of manufacture.
Using the First Three Digits of the Model Number
The initial three digits of your Kenmore oven’s model number serve as a key identifier, revealing the original manufacturer of the appliance. Kenmore, as a brand, sources its appliances from various manufacturers, most notably Whirlpool, but also others like LG and GE.
For example, if your model number begins with “110,” it likely indicates Whirlpool as the manufacturer. Different digit combinations correspond to different companies. This information is vital because it directs you to the correct resources for parts, service manuals, and troubleshooting guides specific to the appliance’s core construction.
Understanding the manufacturer allows for more accurate research and ensures you’re utilizing the appropriate support materials for your Kenmore oven.
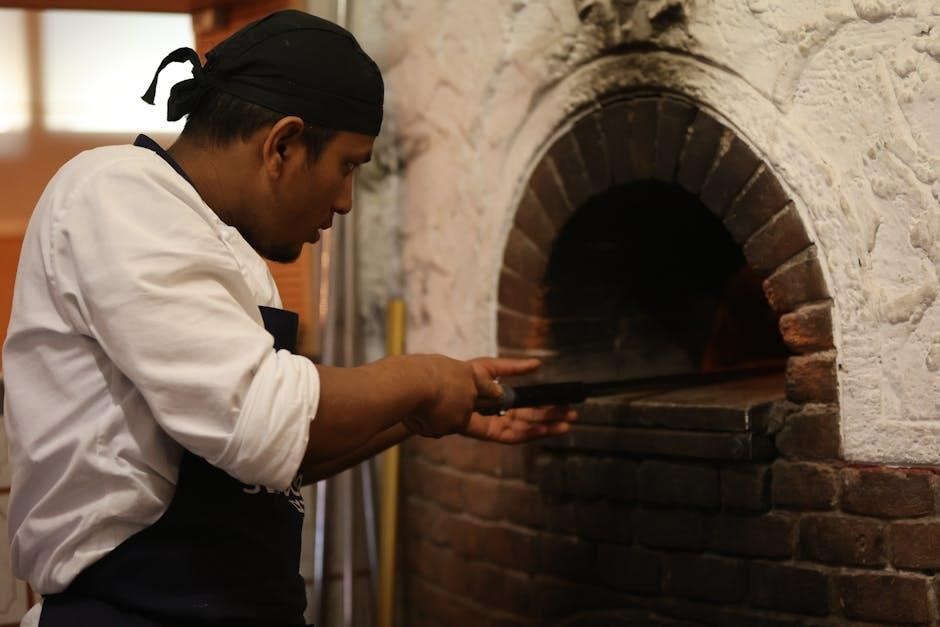
Self Cleaning Cycle: An Overview
The self-cleaning cycle on your Kenmore oven is a high-temperature process designed to eliminate baked-on food residue and grime, minimizing manual scrubbing. This cycle heats the oven to extremely high temperatures – typically around 880°F (470°C) – converting food particles into ash.
This process typically takes between two to four hours, depending on the selected cycle duration and the level of soil within the oven. During the cycle, the oven door automatically locks for safety reasons, preventing accidental opening due to the intense heat. It’s crucial to understand that some smoke and odor are normal during this process, but excessive smoke warrants investigation.
Post-cycle, a small amount of ash residue remains, easily wiped away once the oven has completely cooled.
Preparing for the Self Cleaning Cycle

Before initiating the self-cleaning cycle on your Kenmore oven, thorough preparation is essential for optimal results and safety. Begin by removing all oven racks, baking stones, and any other accessories from the oven cavity. These items can become discolored or damaged at the high temperatures reached during the cycle.
Next, wipe up any loose debris, large food particles, or spills from the oven floor. While the cycle is designed to burn off residue, excessive amounts can create more smoke and potentially affect the cleaning process. Ensure the oven door seals are clean and free of obstructions.
Finally, consider ventilating the kitchen by opening windows or turning on the exhaust fan.
Removing Oven Racks and Accessories
Prior to engaging the self-cleaning cycle, the complete removal of oven racks and all accessories is a crucial preparatory step. Carefully slide the oven racks forward and lift them out of the oven cavity. Avoid any forceful movements that could damage the rack supports or the oven interior.
Baking stones, broiler pans, temperature probes, and any other items stored within the oven must also be removed. These components are not designed to withstand the extreme temperatures of the self-clean cycle and may experience discoloration, warping, or even damage.
Store the removed racks and accessories in a safe, dry location during the cleaning process.
Wiping Up Loose Debris
Before initiating the self-cleaning cycle, a quick manual cleanup significantly enhances its effectiveness and minimizes smoke production. Use a damp cloth or sponge to wipe away any large food particles, spills, or loose debris from the oven floor and walls.
Focus particularly on areas where food has visibly accumulated, such as beneath heating elements or along the oven’s base. This preliminary step prevents these remnants from smoldering and creating excessive smoke during the high-temperature cleaning process.
Avoid using abrasive cleaners or scouring pads, as they can damage the oven’s interior surface. A simple wipe-down is usually sufficient to remove most loose particles, preparing your Kenmore oven for a thorough self-clean.
Initiating the Self Cleaning Cycle
To begin the self-cleaning process on your Kenmore oven, ensure the oven door is fully closed and latched. Navigate to the “Self Clean” function on your oven’s control panel – this is typically accessed through the settings menu.
Select the desired cleaning cycle length; options may include light, medium, or heavy clean, depending on the level of soiling. Some models offer a delayed start feature, allowing you to schedule the cleaning cycle for a convenient time.
Once the cycle is initiated, the oven door will automatically lock for safety reasons and remain locked throughout the entire process. Do not attempt to open the door during operation.
Self Cleaning Cycle Duration and Temperature
The duration of a Kenmore oven’s self-cleaning cycle varies based on the selected intensity level. Typically, a light clean runs for approximately three hours, a medium clean for four hours, and a heavy clean can extend to five hours or more.
During the self-cleaning process, the oven heats to extremely high temperatures, often exceeding 900°F (482°C). This intense heat effectively burns off food residue and spills, leaving behind only a fine ash.
It’s crucial to understand that these high temperatures are necessary for effective cleaning, but also necessitate strict adherence to the safety precautions outlined in this manual. The oven will automatically cool down before the door unlocks.
Safety Precautions During Self Cleaning
Prioritizing safety is paramount when utilizing the self-cleaning cycle. Due to the extremely high temperatures generated – exceeding 900°F (482°C) – several precautions must be observed.
Adequate ventilation is essential; open windows or use a range hood to dissipate fumes that may be released during the process. Keep children and pets strictly away from the oven during the entire cycle and cool-down period, as the exterior surfaces become intensely hot;
Avoid touching the oven door or controls while the cycle is active. Never attempt to open the door prematurely; it will remain locked until the oven has cooled sufficiently. Be mindful of potential odors, and if excessive smoke is detected, immediately stop the cycle.
Ventilation Requirements
Proper ventilation is crucial during the self-cleaning cycle to ensure a safe and comfortable environment. The high temperatures involved can release odors and potentially some smoke, even in a clean oven.
It is strongly recommended to open windows in the kitchen to create cross-ventilation. Alternatively, or in addition to open windows, activate your range hood’s exhaust fan to draw away any fumes. If you have a sensitive respiratory system, or if birds are kept in the home, enhanced ventilation is particularly important.
Ensure the area around the oven is clear to allow for optimal airflow. While modern ovens are designed to minimize smoke, adequate ventilation remains a vital safety precaution throughout the entire self-cleaning process.
Keeping Children and Pets Away
The self-cleaning cycle generates extremely high temperatures, posing a significant hazard to children and pets. Strict supervision and preventative measures are absolutely essential throughout the entire process.
Ensure children and pets are kept a safe distance from the oven – at least several feet – during the cycle and for a considerable period afterward, while the oven is cooling down. The exterior surfaces of the oven become very hot and can cause severe burns upon contact.

Consider locking the kitchen door or using a childproof gate to prevent accidental access. Never allow children or pets to play near the oven, and clearly communicate the dangers associated with the self-cleaning cycle to all household members.
Post-Cleaning Procedures
Following the self-cleaning cycle, several crucial steps ensure your oven is ready for its next use and maintains optimal performance. Patience is key, as allowing sufficient cooling time is paramount for safety and effective ash removal.
First, allow the oven to cool completely – this can take several hours. Avoid opening the oven door prematurely, as residual heat can still be dangerously high. Once cool, a fine, powdery ash residue will remain. Gently wipe away this ash with a damp cloth; avoid using abrasive cleaners.
Inspect the oven’s interior for any remaining debris and remove it. Ensure the door seal is clean and intact. Your Kenmore oven is now ready for cooking!
Allowing the Oven to Cool
After the self-cleaning cycle concludes, the most critical step is allowing the oven to cool down completely before attempting any post-cleaning procedures. This is not merely a suggestion, but a vital safety precaution to prevent burns and ensure effective ash removal.
The oven reaches extremely high temperatures during the cycle, and residual heat remains for a considerable period. Resist the urge to open the door immediately. A complete cooling period can take several hours, depending on the cycle duration and ambient temperature.
Prematurely opening the door risks severe burns and can also make ash removal more difficult. Patience during this cooling phase is essential for a safe and thorough cleaning process.
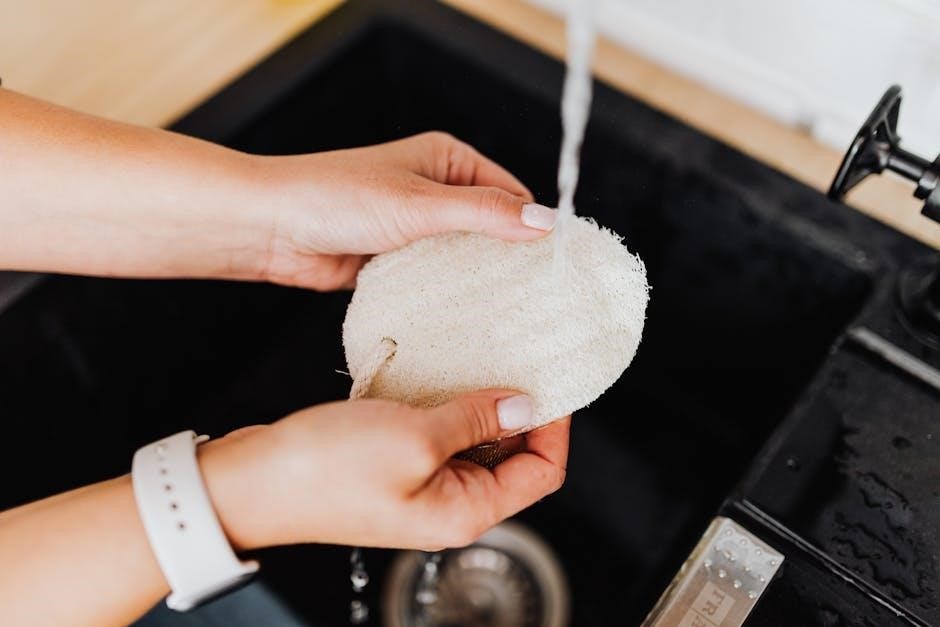
Wiping Away Ash Residue
Once the oven has fully cooled, a fine layer of ash residue will remain. This is a normal byproduct of the self-cleaning process and is easily removed with a damp cloth or sponge.
Avoid using abrasive cleaners or scouring pads, as these can damage the oven’s interior surface. A simple, slightly damp cloth is usually sufficient to wipe away the ash. For stubborn residue, a paste of baking soda and water can be gently applied, followed by thorough rinsing.
Ensure all ash is removed before using the oven for cooking. This prevents any unpleasant tastes or odors from transferring to your food. A clean oven ensures optimal cooking performance and food safety.
Troubleshooting Common Self Cleaning Issues
Occasionally, users may encounter issues during the self-cleaning cycle. One common concern is smoke, which can occur if excessive grease or food debris remains in the oven. While some smoke is normal, significant smoke warrants immediate attention – ensure adequate ventilation and consider pausing the cycle.
Error codes displayed on the oven’s control panel indicate specific problems. Refer to your Kenmore oven’s manual for a comprehensive list of error codes and their corresponding solutions. Common issues include door lock malfunctions or temperature sensor failures.
If problems persist, consult Kenmore’s customer service for expert assistance. Addressing these issues promptly ensures safe and effective oven operation.
Smoke During the Cycle
Some smoke during the self-cleaning cycle is generally considered normal, particularly during the initial stages as accumulated grease and food particles burn off at high temperatures. However, the amount of smoke should be minimal. Excessive smoke indicates a larger buildup of residue within the oven cavity.
If significant smoke appears, immediately ensure proper ventilation by opening windows and turning on the kitchen exhaust fan. Avoid prolonged exposure to heavy smoke. Pausing the self-clean cycle can also help reduce smoke production.
Before initiating the cycle, thoroughly wipe up any loose debris. If smoke persists despite these measures, consult the Kenmore manual or contact customer support for further guidance.
Error Codes and Their Meanings
Kenmore self-cleaning ovens utilize error codes to diagnose potential issues, providing valuable insights into malfunctions. These codes appear on the oven’s display panel and signal a need for attention. Referencing your specific model’s manual is crucial for accurate interpretation.
Common error codes might indicate problems with the door latch, temperature sensor, or heating element. For instance, a “F1” code could signify a faulty temperature sensor, while “F2” might relate to a heating element failure. Always disconnect power before attempting any repairs.
If an error code appears, consult the manual or Kenmore’s customer service for troubleshooting steps. Ignoring error codes can lead to further damage or unsafe operation.
Cleaning Around the Oven Door Frame
Maintaining a clean oven door frame is essential for both aesthetics and proper sealing during cooking. Food splatters and residue can accumulate around the frame, impacting performance and potentially creating unpleasant odors. Regular cleaning prevents buildup and ensures efficient oven operation.
Use a mild detergent and warm water solution with a soft cloth to gently wipe down the frame. Avoid abrasive cleaners, as they can damage the finish. Pay close attention to the areas where the door seals against the frame, removing any debris that might compromise the seal.
For stubborn residue, a paste of baking soda and water can be effective. Always rinse thoroughly and dry with a clean cloth.
Cleaning Inside the Drawer Compartment
The drawer compartment, often found beneath the oven, requires periodic cleaning to maintain hygiene and prevent odors. This area can accumulate crumbs, spills, and dust, impacting overall kitchen cleanliness. Regular attention ensures a fresh and functional storage space.
Remove the drawer completely to access all surfaces for thorough cleaning. Use a mild detergent and warm water solution with a soft cloth or sponge to wipe down the interior. For baked-on residue, a baking soda paste can be applied, allowed to sit, and then scrubbed gently.
Don’t forget to clean the frame behind the drawer as well. Rinse thoroughly with clean water and dry completely before reinserting the drawer.
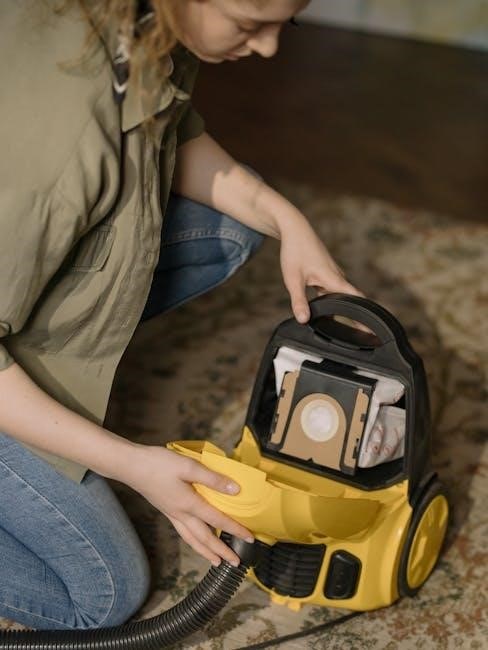
Accessing the Oven from the Back
For older Kenmore ovens, accessing the unit from the back can be necessary for comprehensive cleaning or repair work. This approach allows inspection and cleaning of areas inaccessible through the front or drawer. Always disconnect the oven from the power supply before attempting any rear access.
Carefully pull the oven away from the wall, ensuring sufficient space to work safely. Locate and remove the rear access panel, typically secured with screws. Inside, you may find accumulated dust, debris, or even remnants of previous repairs. Use a vacuum cleaner with a brush attachment to remove loose particles.
Inspect wiring and components for damage. Reattach the access panel securely after cleaning and inspection, and carefully reposition the oven.
Kenmore Oven Manual Access and Resources
Finding the correct Kenmore oven manual is crucial for understanding your appliance’s features, including the self-cleaning cycle. Kenmore provides several avenues for accessing these vital resources. Begin by entering your model number – at least long – into the search bar on the official Kenmore website.
This will unlock a wealth of information, including downloadable manuals, parts diagrams, and troubleshooting guides. If your model isn’t listed, Kenmore’s Customer Service team is available at 1-800-269-2609 or via Live Chat for assistance.
Remember to have your model and serial number readily available when contacting support. These resources empower you to maintain and operate your oven effectively.
Contacting Kenmore Customer Service
When encountering issues with your Kenmore oven’s self-cleaning cycle, or needing further assistance beyond the manual, Kenmore’s Customer Service team is readily available. They can provide expert guidance, troubleshoot error codes, and answer specific questions about your appliance.
You can reach Kenmore Customer Service by calling 1-800-269-2609. Alternatively, a convenient Live Chat option is available on the official Kenmore website, offering real-time support.
Before contacting them, have your oven’s model number and serial number prepared; this will expedite the process. Be ready to describe the issue in detail, including any error messages displayed during the self-cleaning cycle.
Double Oven Considerations
For Kenmore double oven models, understanding even baking performance across multiple racks is crucial, especially during standard baking and not specifically the self-cleaning cycle. However, optimal performance impacts overall oven health and efficiency.
Kenmore evaluates baking evenness by assessing whether cakes and cookies brown consistently on two racks simultaneously. This is particularly relevant for the upper oven in a double oven configuration. Ratings reflect this performance, helping you maximize cooking results.
When using the self-clean function in a double oven, it’s important to note that some models may allow cleaning of both ovens concurrently, while others require sequential cleaning. Refer to your specific model’s manual for detailed instructions.
Even Baking Performance on Multiple Racks
Kenmore prioritizes consistent cooking results, and even baking performance on multiple racks is a key evaluation metric, though not directly related to the self-cleaning cycle itself. Understanding this aspect contributes to overall oven satisfaction.
Evaluations focus on whether baked goods, like cakes and cookies, achieve uniform browning when placed on two racks simultaneously. This is especially important for double wall ovens, where the upper oven’s performance is specifically assessed.

Consistent temperature distribution is vital for successful multi-rack baking. Factors like oven rack placement, convection settings, and proper preheating all influence evenness. While self-cleaning doesn’t directly impact baking, a well-maintained oven generally performs better.